How to Layer Glossier Products for Best Results (Step‑by‑Step)
Whether your goal is a glowing skincare look or a natural “skin‑first” makeup finish, the key to success is order and technique. Glossier’s philosophy focuses on lightweight, breathable products that feel like you, not heavy layers. Here’s a complete routine you can follow daily.
🧖♀️ Step 1 — The Foundation: Cleanse
Why: A clean face ensures makeup and skincare absorb properly and last longer.
Product: Glossier Milky Jelly Cleanser — gentle yet effective at removing oil and impurities without stripping your skin.
How to:
- Massage onto damp skin.
- Rinse with lukewarm water.
- Pat dry gently.
☁️ Step 2 — Hydration & Prep
This is still technically skincare, and skincare layering should generally go from thinnest to thickest formula to let each product absorb effectively.
Optional: Hydrating Toner or Mist
- Use a hydrating toner or mist if you want extra moisture or prep for makeup.
Serums (if using)
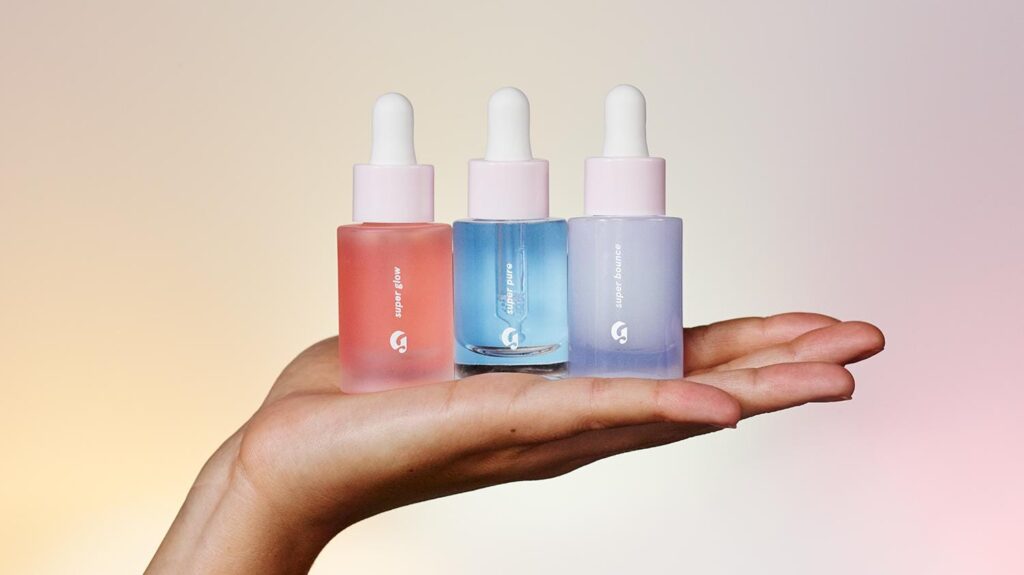
- Apply lightweight serums (e.g., hyaluronic acid like Super Bounce) next while your skin is still slightly damp for better absorption.
Moisturizer
- Apply your moisturizer to lock in hydration.
🌞 Step 3 — Sun Protection (Morning Only)
Always apply sunscreen as your last skincare step before makeup — this protects your skin and helps makeup sit smoothly. In layering, SPF must always go before makeup, as it needs direct skin contact.
💄 Step 4 — Base Makeup (Light & Skin‑Like)
Glossier makeup is designed to enhance your skin, not hide it — so layering lightly is key.
1. Perfecting Skin Tint
Start with this sheer, breathable base that evens skin tone while letting natural texture show through. It’s best applied on clean, moisturized, and sunscreen‑protected skin.
- How: Use fingertips or a damp sponge. Start in the center of your face and blend outward.
2. Stretch Concealer
Apply concealer after your skin tint where you want extra coverage — under eyes, around the nose, or on blemishes.
- How: Tap gently with your ring finger or brush for natural blending.
🎨 Step 5 — Color & Dimension
This is where you add warmth, dimension, and color:
Blush & Highlight
- Cloud Paint (Blush): Apply to cheek apples and blend outward.
- Haloscope (Highlighter): Dot on cheekbones or brow bones for natural glow.
Powder (if needed)
If you have oilier skin or want added longevity, apply a light dusting of powder after tint and concealer.
🪶 Step 6 — Brows & Eyes
These products help frame your face:
- Boy Brow: Shape and fill in brows naturally.
- Lash Slick (Mascara): Define lashes without drama.
Order Tip: Brows often go before bronzer and blush — that way you can see where facial features land as you add color.
💋 Step 7 — Lips
Finish with a lip product that matches your look:
- Balm Dotcom: Hydrating balm with optional tint.
- Ultralip: Adds a glossy tint.
✨ Other Layering Tips
💦 Give Time Between Layers
Allow each product to absorb for ~20–30 seconds. This helps prevent makeup pilling (clumping) and keeps products from tugging off one another.
💡 Fewer Is More
Too many layers can interfere with blending and finish. Glossier’s formulas are lightweight and build on each other — adding too much bulk makes makeup harder to blend.
☀ Sunscreen Always First
Your SPF must be the last step of skincare and first step for makeup — you shouldn’t layer tint under sunscreen or vice versa in the morning, because sunscreen needs to protect skin directly.
✍️ Full Routine Quick Summary
Morning
- Cleanser
- Hydrating mist/toner (optional)
- Serum
- Moisturizer
- Sunscreen
- Skin Tint
- Concealer
- Cloud Paint or Haloscope
- Boy Brow
- Mascara
- Lip Balm or Tint
Evening
- Cleanser
- (Optional toner)
- Serum
- Moisturizer
- Skip SPF & makeup
🧠 Final Thoughts
Layering your Glossier products correctly isn’t just about order — it’s about giving each step the space it needs to interact with your skin effectively. Starting with skincare basics, protecting your skin, then adding light, breathable makeup ensures not only better performance but a look that feels natural, glowy, and effortless — exactly what Glossier aims for.
If you want, I can also make a visual routine chart you can embed in your blog post for quick reference!
How to Layer Glossier Products for Best Results (Step‑by‑Step)
Here’s a ready-to-publish, step-by-step guide on how to layer Glossier products for the best results. It covers both skincare and makeup so each product works effectively without clumping or pilling.
How to Layer Glossier Products for Best Results (Step‑by‑Step)
Glossier is known for its skin-first, lightweight, and breathable formulas. Proper layering ensures each product absorbs correctly, enhances your skin, and delivers the natural, effortless glow the brand is famous for. Here’s a comprehensive routine you can follow.
🧼 Step 1 — Cleanse
Why: Cleansing removes oil, dirt, and impurities, allowing your skincare and makeup to absorb properly.
Product: Milky Jelly Cleanser
- Apply to damp skin.
- Massage gently in circular motions.
- Rinse with lukewarm water and pat dry.
💧 Step 2 — Prep & Hydrate
Order: From thinnest to thickest for better absorption.
- Toner or Mist (optional): Adds an extra layer of hydration.
- Serums (if using): Lightweight formulas like Super Bounce or Super Pure work best on slightly damp skin.
- Moisturizer: Locks in hydration. Products like Priming Moisturizer or Glossier Futuredew work well here.
🌞 Step 3 — Sunscreen (Morning Only)
- Always apply SPF as the final skincare step before makeup.
- Ensures maximum protection and prevents makeup from disrupting the sunscreen layer.
💄 Step 4 — Base Makeup
1. Perfecting Skin Tint
- Sheer coverage that evens skin tone without masking natural texture.
- Apply using fingertips or a damp sponge, starting in the center of the face and blending outward.
2. Stretch Concealer
- Tap lightly on areas needing extra coverage (under eyes, blemishes).
- Blend gently for a natural finish.
🎨 Step 5 — Add Color & Dimension
- Cloud Paint (Blush): Apply to cheek apples and blend outward.
- Haloscope (Highlighter): Dot on cheekbones, brow bones, or nose bridge for a natural glow.
- Powder (optional): Light dusting if you have oily skin or want longer wear.
🪶 Step 6 — Brows & Eyes
- Boy Brow: Fill and shape brows naturally.
- Lash Slick (Mascara): Defines lashes without heavy volume.
Tip: Apply brows before blush and highlighter for balanced placement.
💋 Step 7 — Lips
- Balm Dotcom: Hydrating balm with optional tint.
- Ultralip: Adds subtle glossy color.
✨ Tips for Effective Layering
- Wait Between Layers: Allow 20–30 seconds for absorption to prevent pilling.
- Fewer Layers: Lightweight formulas build naturally; avoid stacking too many products.
- Sunscreen First: SPF must touch skin directly for protection.
- Patch Test New Products: Especially serums or tints, to avoid irritation.
🏁 Quick Morning Routine Summary
- Cleanser
- Toner/Mist (optional)
- Serum
- Moisturizer
- Sunscreen
- Skin Tint
- Concealer
- Cloud Paint
- Haloscope
- Boy Brow
- Mascara
- Lip Balm/Tint
Evening: Cleanser → Serum → Moisturizer (skip SPF & makeup)
Proper layering lets your Glossier products shine individually while creating a cohesive, natural look. This approach ensures hydration, protection, and a glowing skin-first finish.